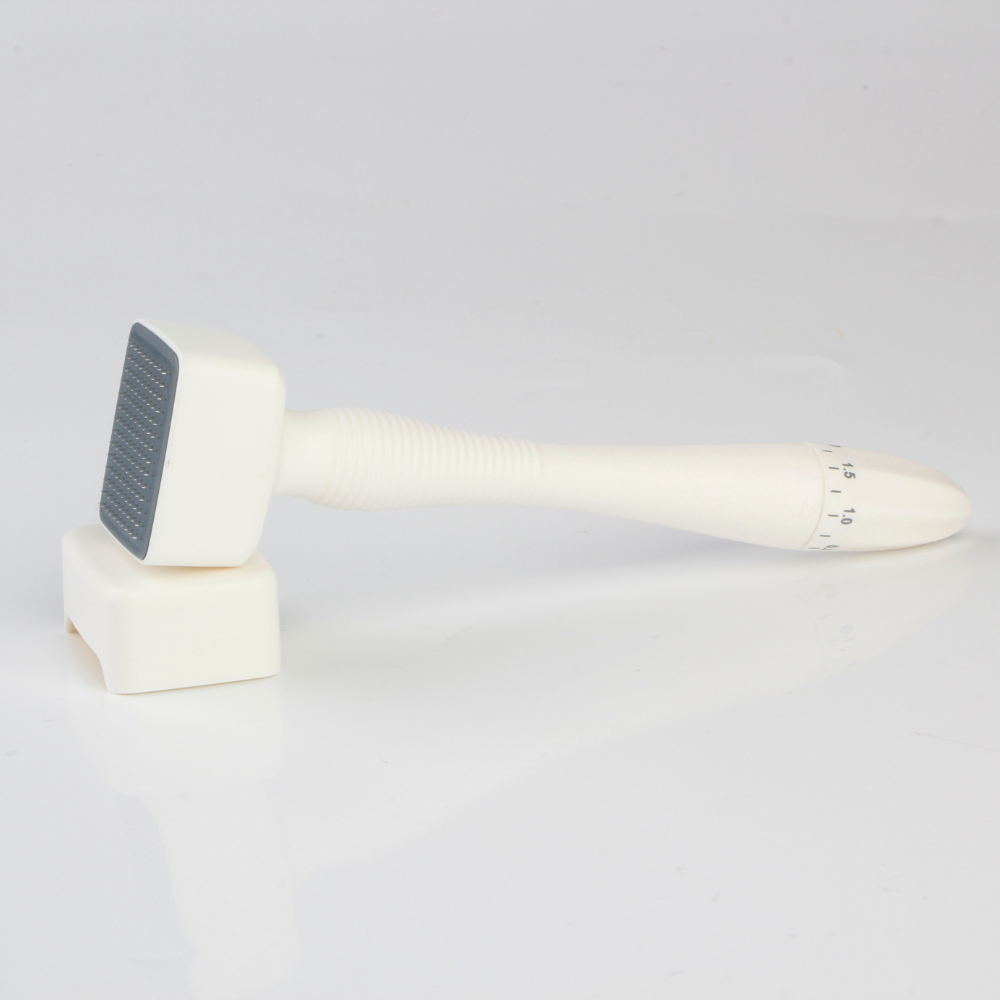
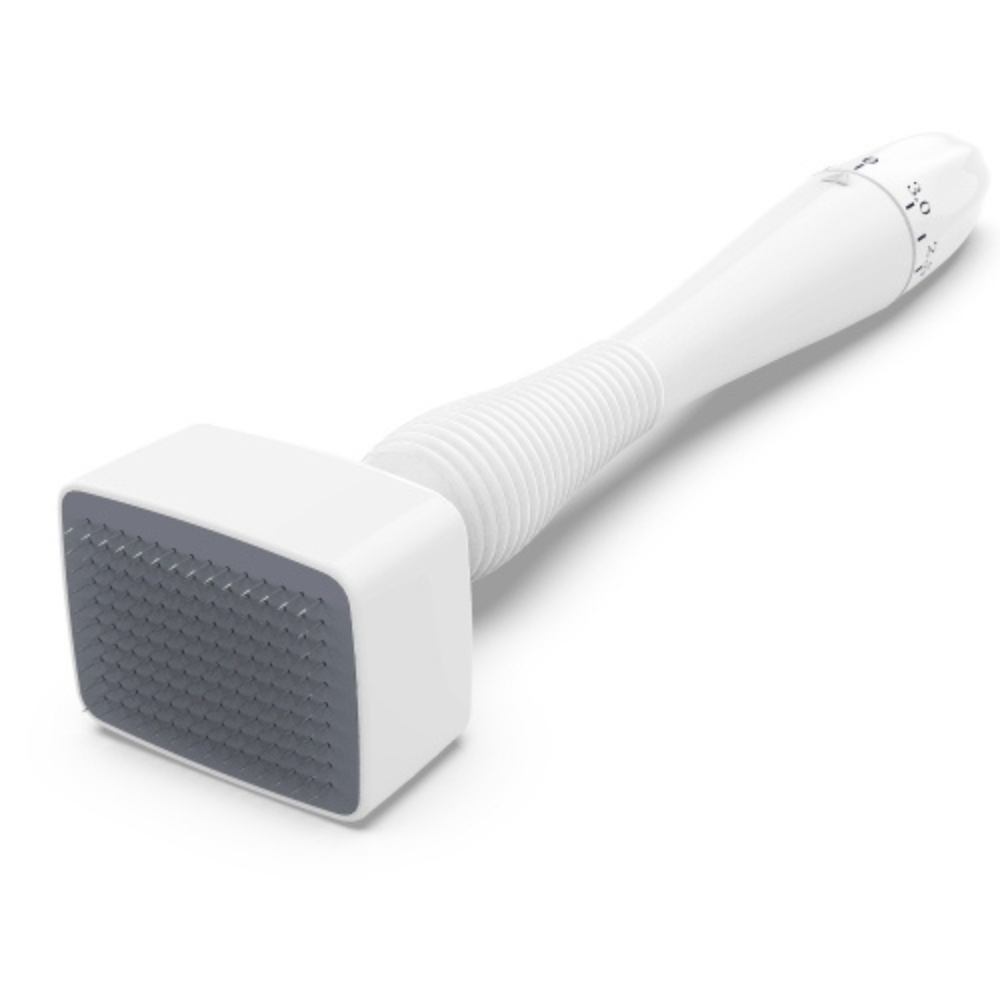
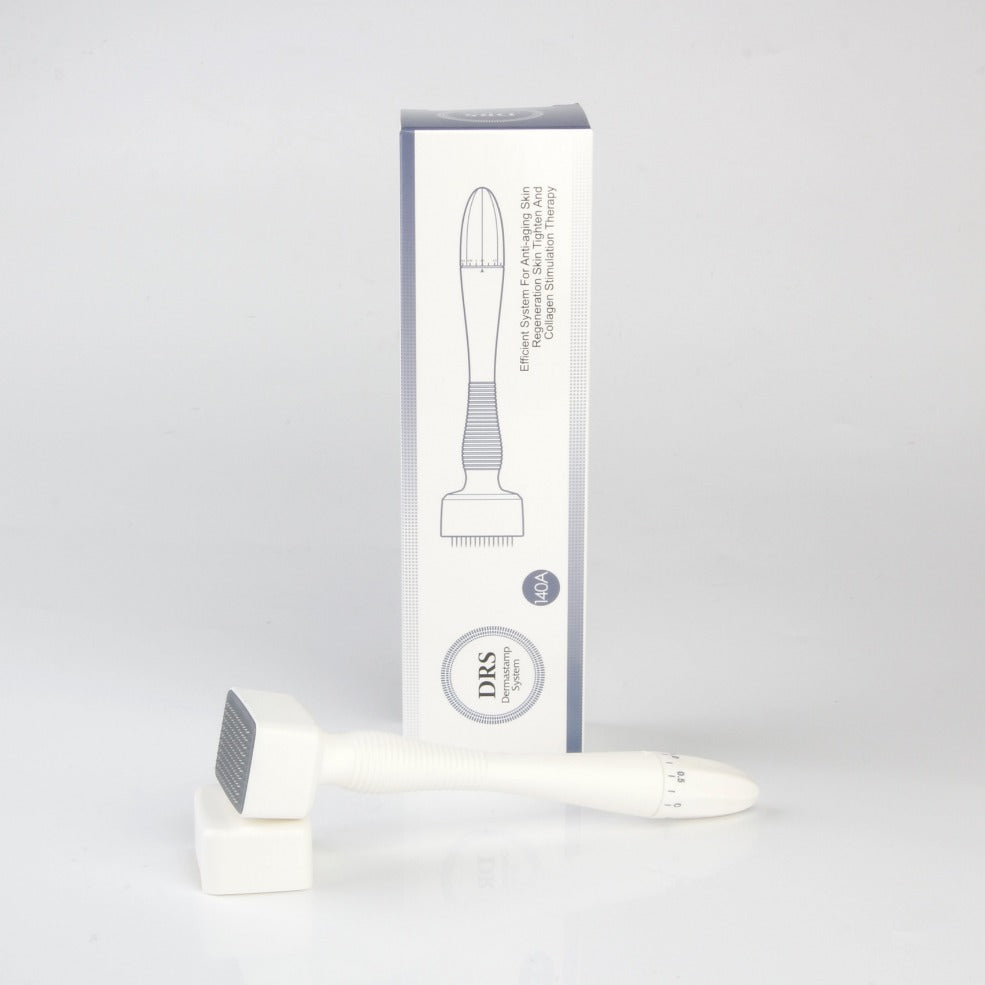
Derma Stamp Micro Needling Skin Tool
Derma Stamp Micro Needling Skin Tool
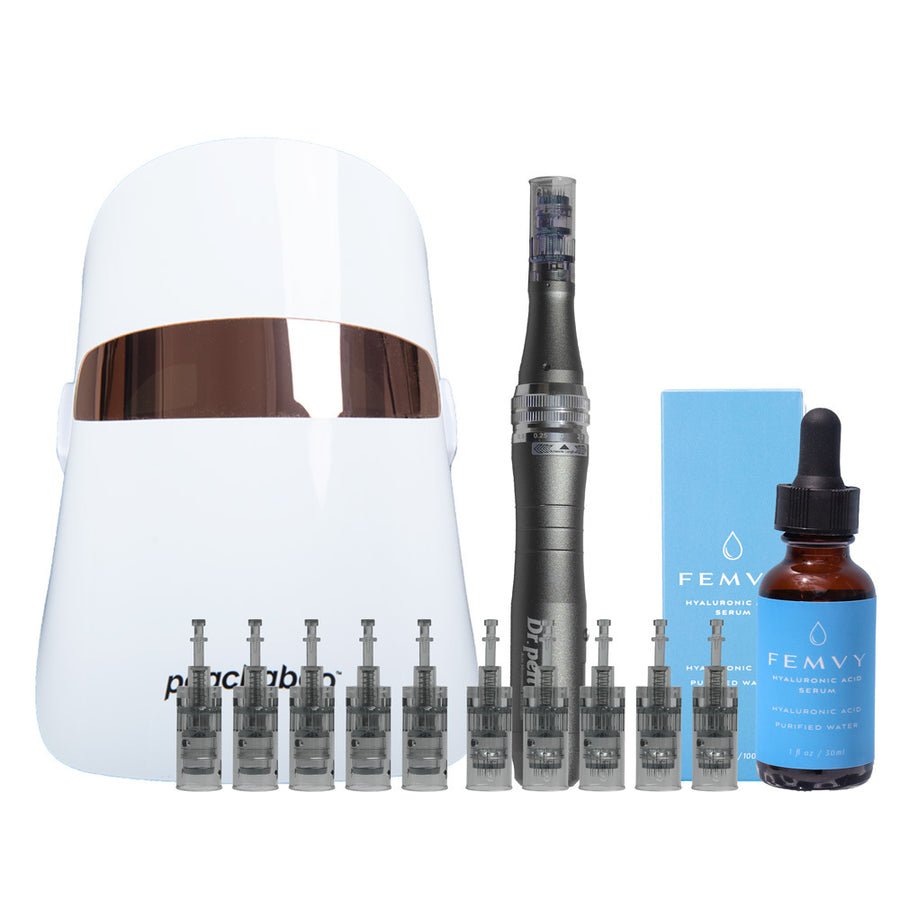
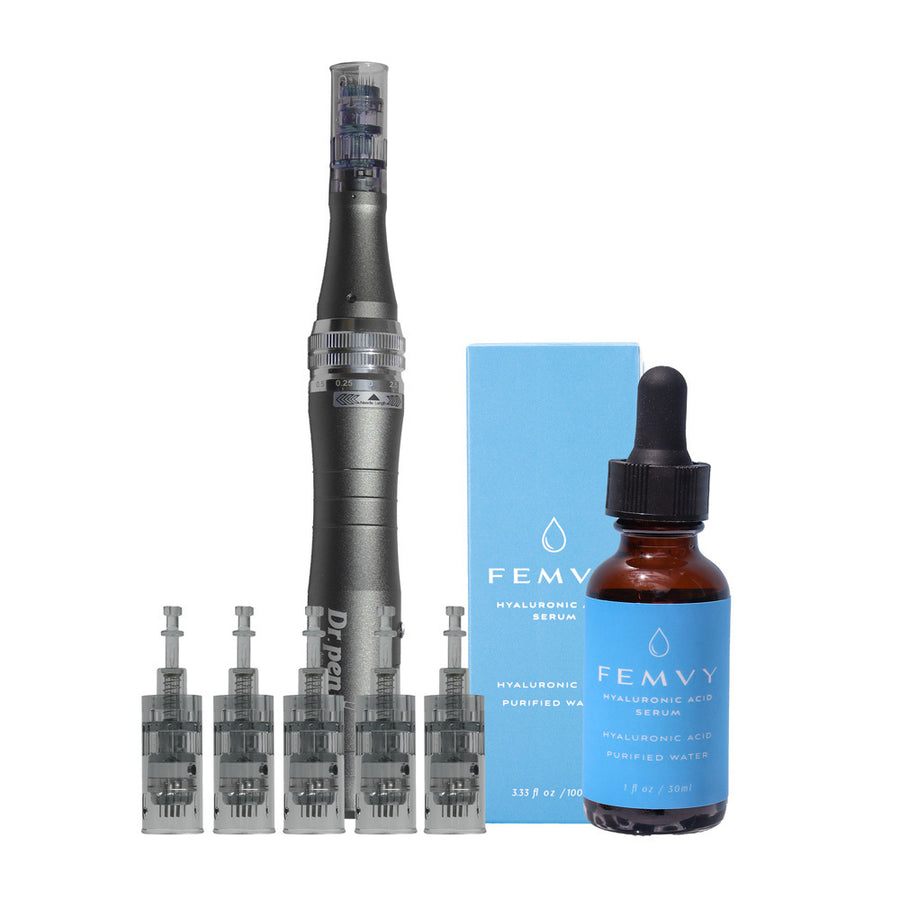
Complete your journey to healthier skin with:
Get the full routine and speed up your results

USED IN SALONS
Trusted by professionals
FREE UK SHIPPING
Over £29.00
Do you have specific skin areas that you struggle to treat with a derma roller or micro needling pen? Or perhaps you have some stubborn skin imperfections that you'd like to target?
Then the Derma Stamp Micro Needling skin tool is just what you're looking for!

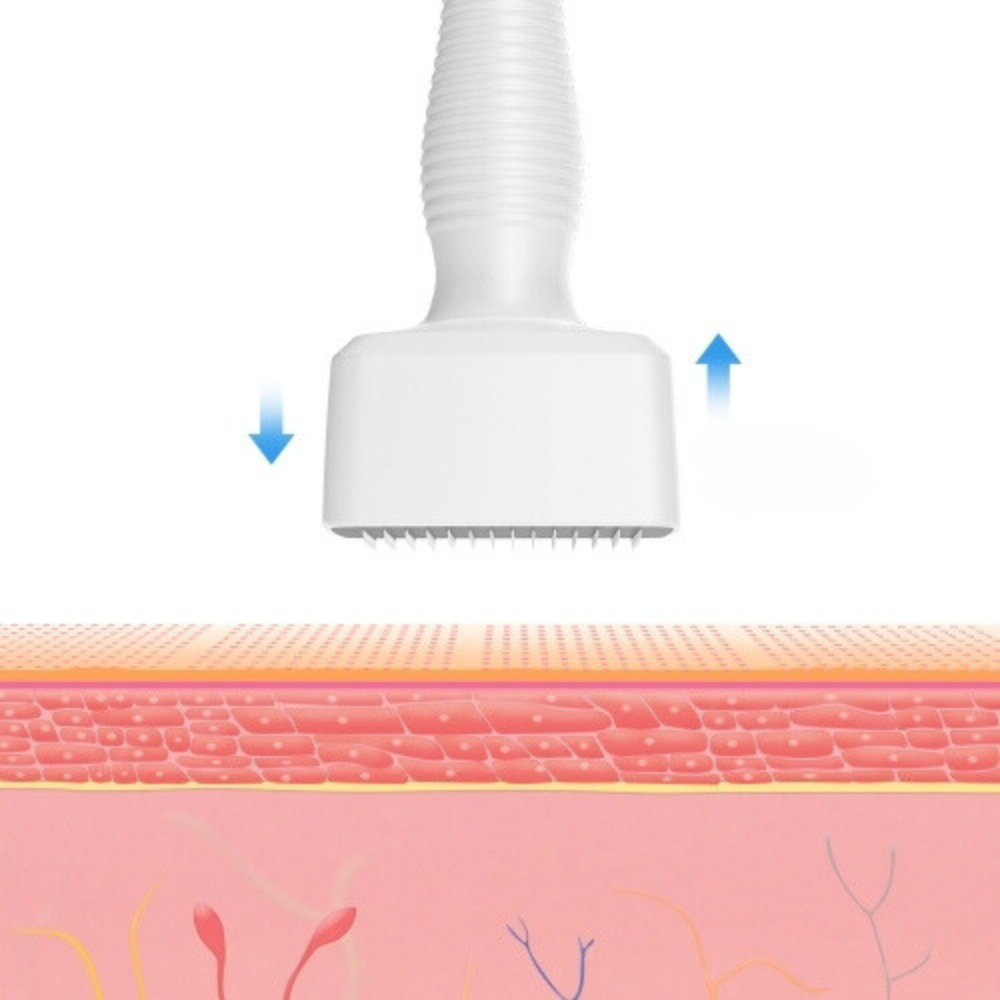
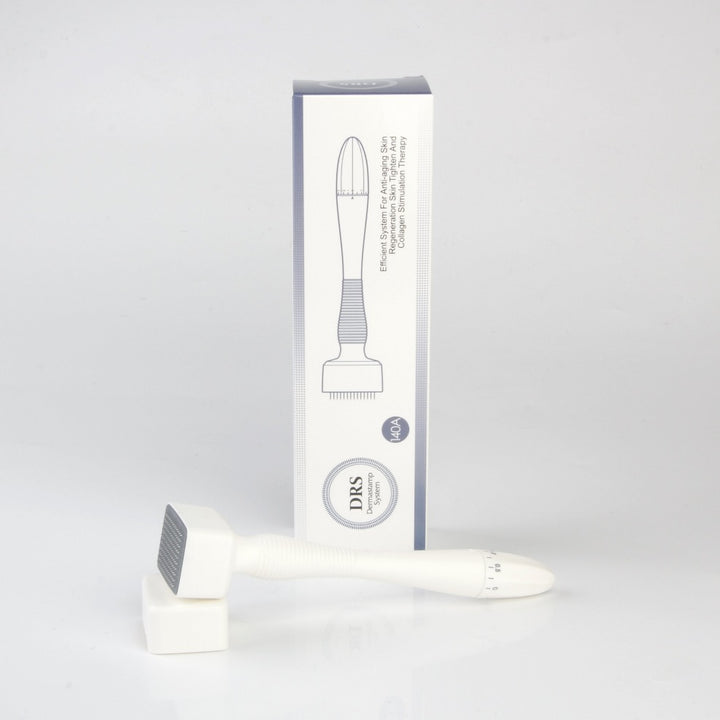
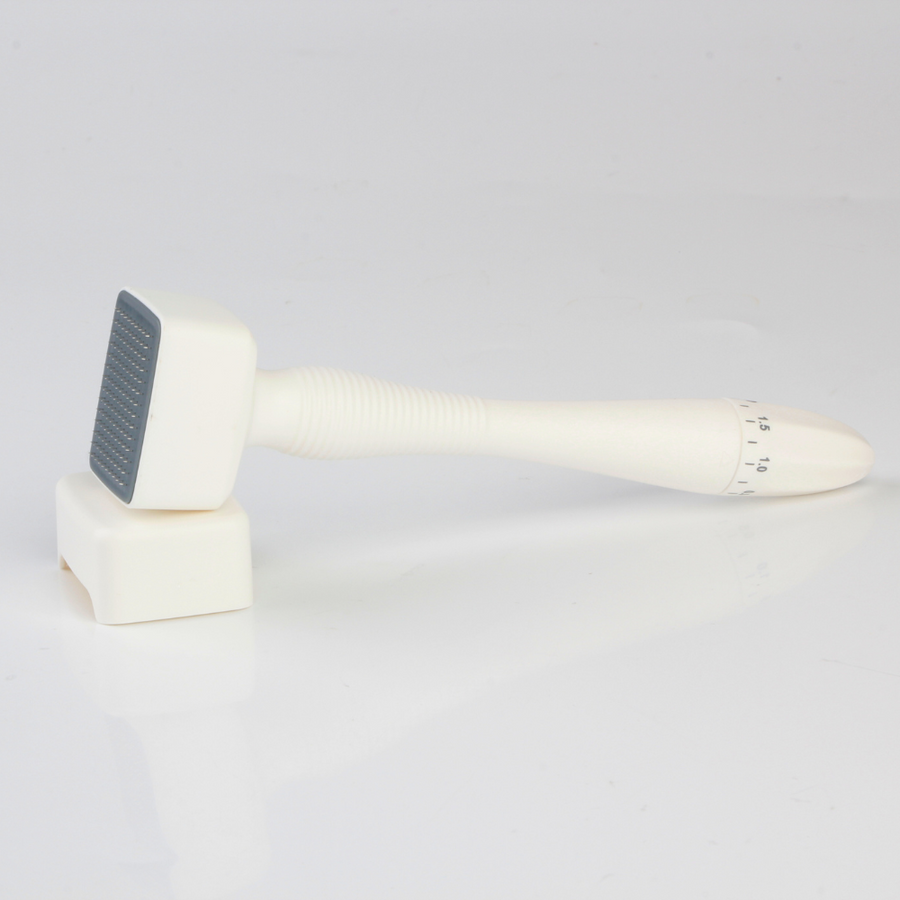
Unlike a derma roller, which rolls a barrel of ultra fine needles over the skin, the Derma Stamp Micro Needling skin tool is used to press directly into targeted areas of the skin. The stamp mechanism gives the user a targeted treatment approach, and is an ideal microneedling tool for treating isolated scars/scar tissue as well as other areas which are small, difficult to reach or feature specific, small skin imperfections.
For instance, precise areas such as the eyebrows and the deep lines surrounding the lips are all easily treated with the Derma Stamp Micro Needling skin tool. The stamp is also ideal to use around the hairline, where receding or hair loss may have occurred.
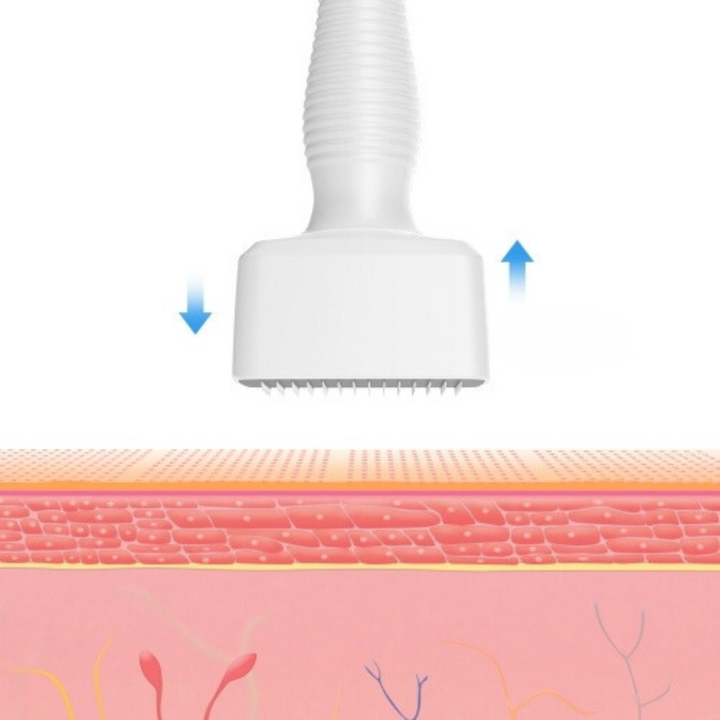
Like other microneedling tools, the Derma Stamp Micro Needling Skin tools works by creating tiny channels into the skin via ultra fine needles, which simulates a mild trauma response in the skin and triggers the skin to produce collagen and elastin, healing the micro channels and improving the appearance of skin imperfections at the same time.
What can the Derma Stamp Micro Needling Skin Tool assist with treating?
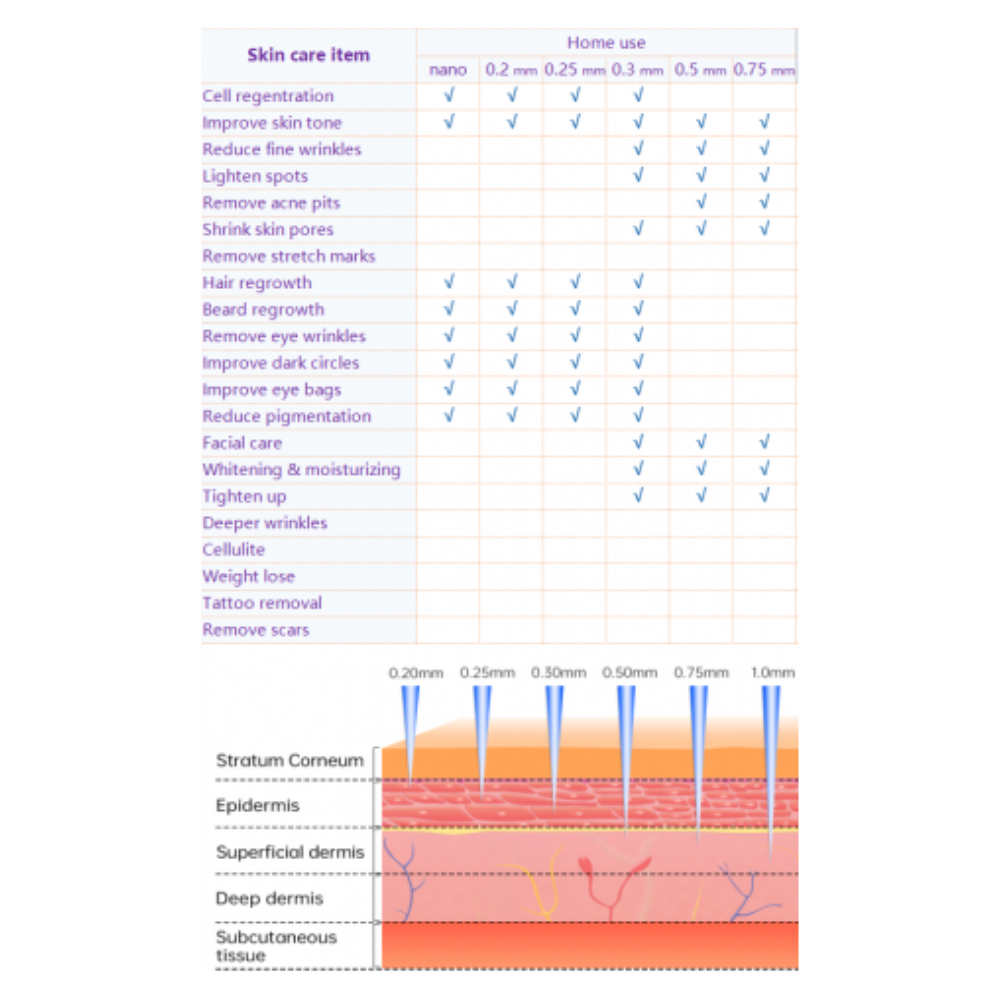
This handy tool can be used to improve the visible appearance of:
- Fine lines and wrinkles
- Hyperpigmentation, sun spots and age spots
- Scarring (for instance surgical scars and acne scars)
- Stretch marks
- Hair loss or receding hair
- Deep wrinkles
- Dryness and redness
Why choose a Derma Stamp Micro Needling Skin Tool?

Derma Stamp Micro Needling Skin Tool Features:
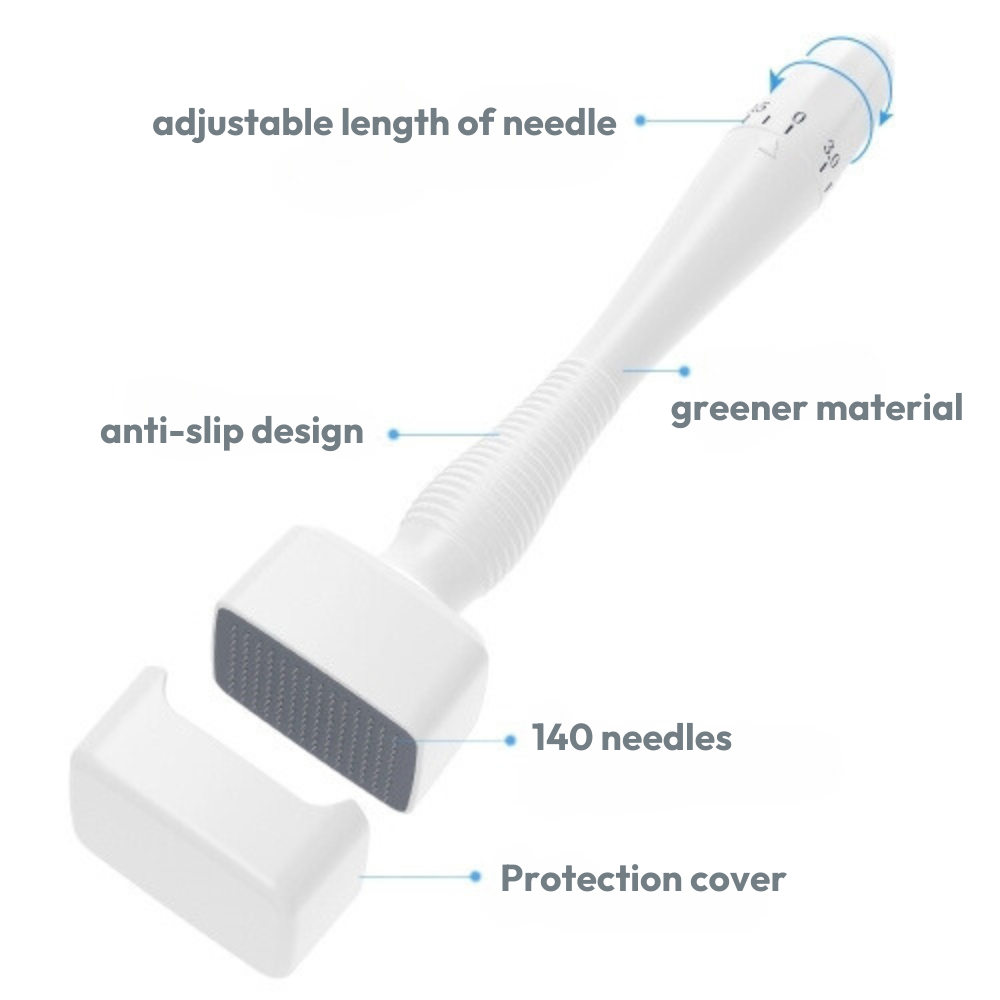
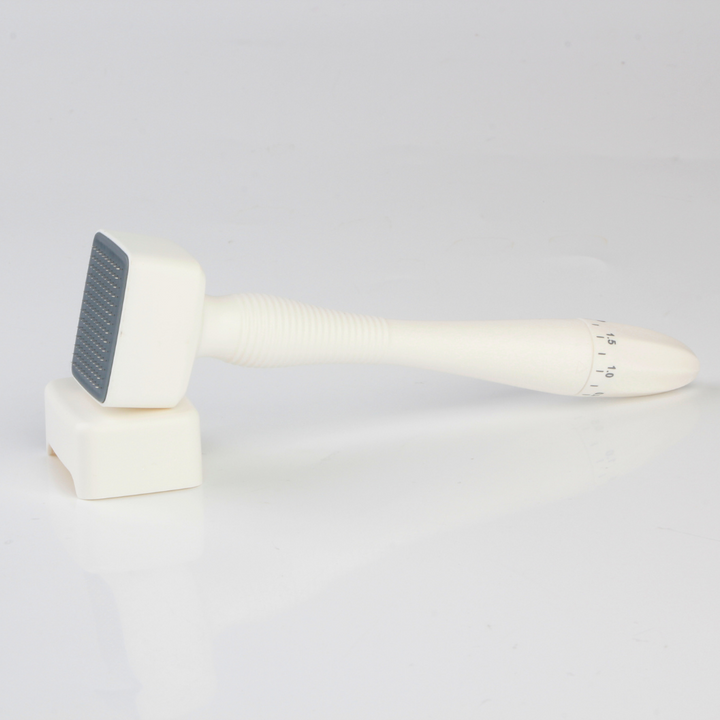
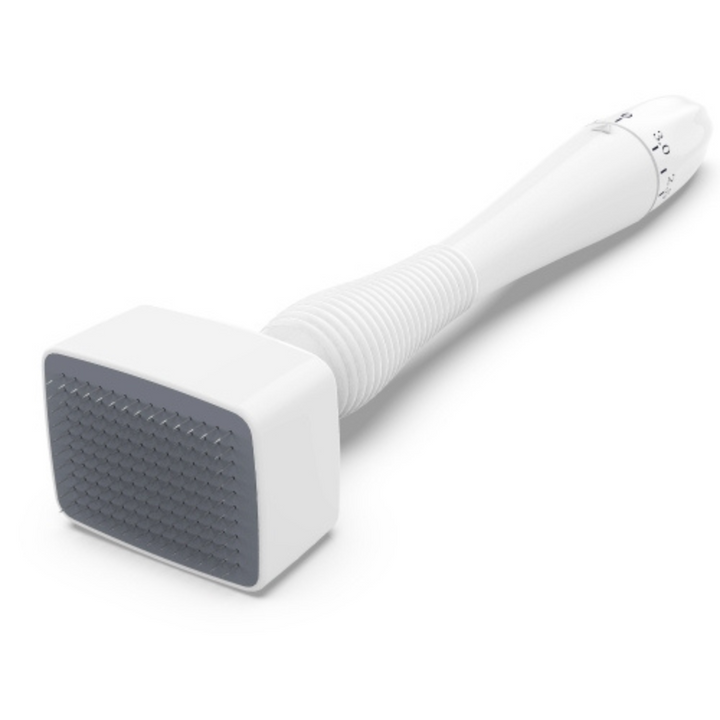
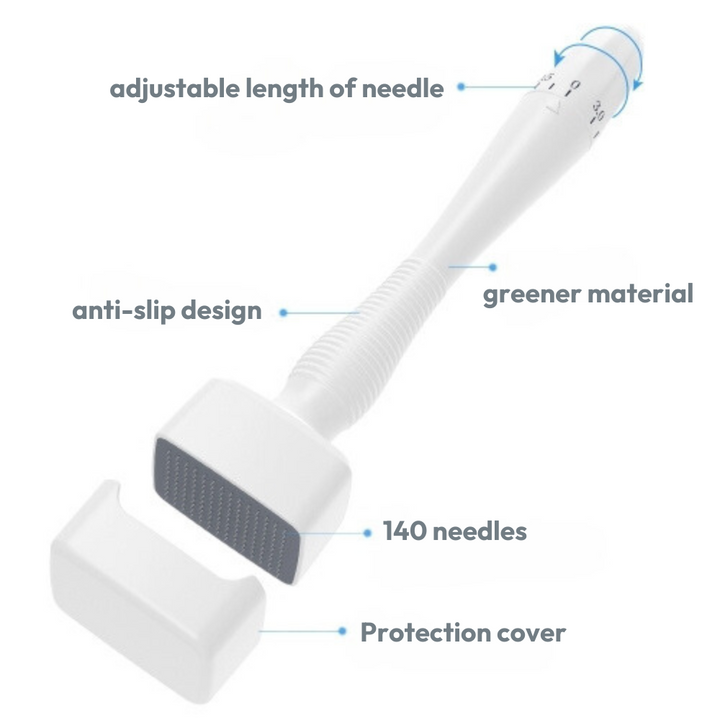
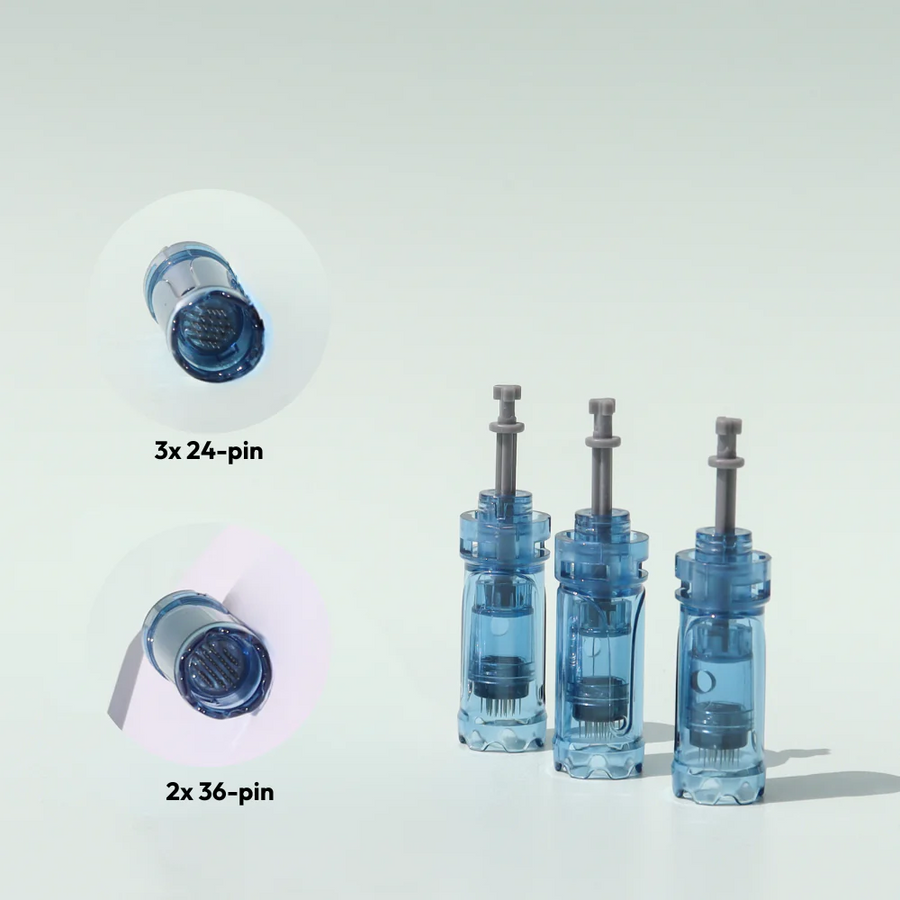
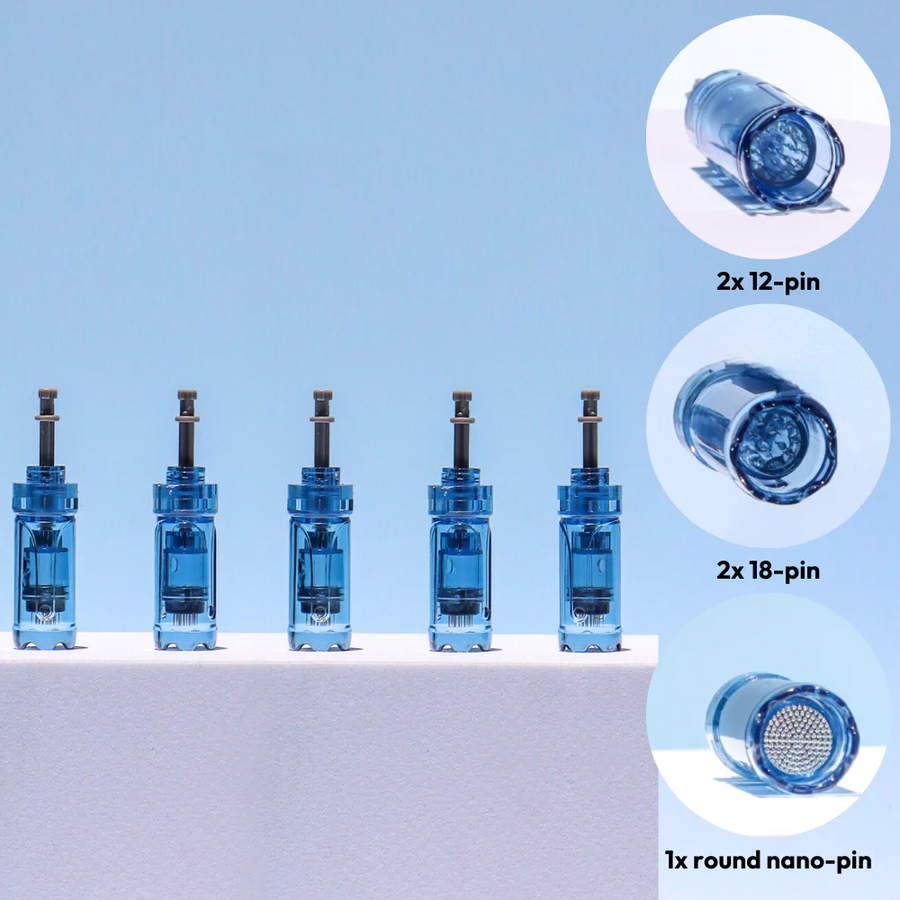
- Adjustable needle dial ranging from 0.5mm - 3mm
- Protective needle cap
- Ergonomic design for better control
- Needles made from stainless steel
Preparation
Step-By-Step Guide How to Sterilise Your Derma Stamp at Home.
-
Wash your hands thoroughly with soap and water, and consider wearing gloves to avoid contamination.
-
Pour 70% isopropyl alcohol into a clean bowl or container.
-
Immerse the derma stamp's head (the needle part) into the alcohol.
-
Allow it to soak for 5-10 minutes to ensure thorough disinfection.
-
After soaking place it on a drying rack or stand to allow the needles to air dry completely.
-
Once the derma stamp is completely dry it is now ready to use.
NOTE: Always sterilize your derma stamp after every use to ensure that it is safe for your skin the next time you use it.
How to use the Derma Stamp Micro Needling Skin Tool
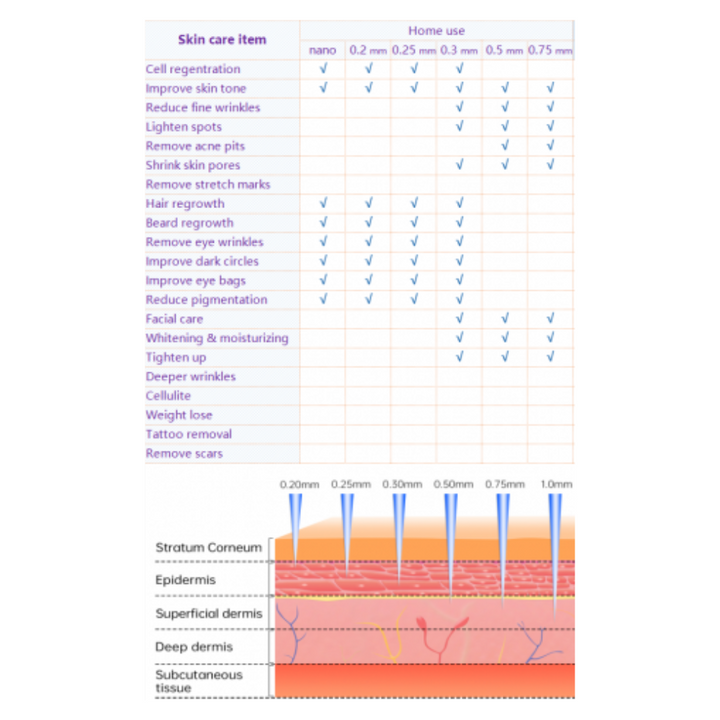
- 0.5mm - 1.0 mm – treating hyper-pigmented spots, facial wrinkles and smaller scars
- 1.5 mm – reducing deep wrinkles and scars (acne, stretch marks, surgery, burn scars)
- 2.0 mm – heavy duty scarring removal, intended for body areas only
- 2.5mm - 3mm – heavy duty scarring removal, intended for body areas only

How often should you derma roll?
- How often you derma roll depends on the length of needles you’ll be using. Below is a guide for each length:
- 0.5 mm - once every 3 weeks
- 1.0 mm - once every 4-6 weeks
- 1.5 mm - once every 4-6 weeks
- 2.0 mm - once every 6-8 weeks
- A sensation like a mild sunburn is normal and may last for 24 hours.
- Derma rolling is best performed in the evening.
- Make sure your skin is completely recovered before starting another session.
- For consistent precision and safety (avoid cross-contamination), replace your derma roller either after 15 uses or after a span of 3 months. This ensures safety and effectiveness of your derma rolling treatment. Full sterilisation must be done before each use.
- Choose the needle gauge you wish to use, set the adjustment dial and make sure it has been disinfected and cleaned before use. This is to ensure sterility.
- Cleanse skin with cleanser of choice to remove all traces of makeup. This will also prevent the exchange of bacteria.
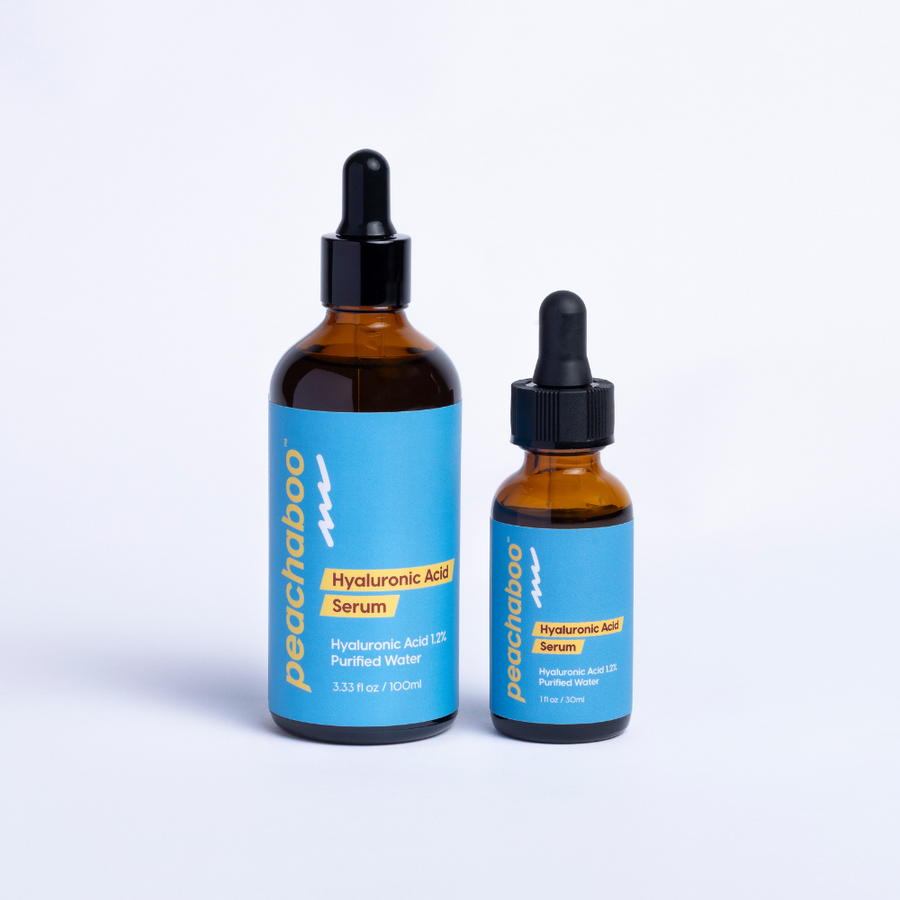
- Apply hyaluronic acid onto skin before stamping.
- Simply press the Derma Stamp Micro Needling skin tool into the area you wish to treat, focusing on one area at a time. Do not over-stamp the same area. Maintain a uniform speed and pressure for the best results.
- After treatment apply a serum such as hyaluronic acid to skin while micro-channels are still open.


